
# Acurite Weather Station Installation Guide
Installing an Acurite weather station can be a rewarding experience, providing you with accurate and real-time weather data right at your fingertips. Whether you’re a weather enthusiast or simply want to keep track of local conditions, this guide will walk you through the installation process step by step.
## Choosing the Right Location
Before you start the installation, it’s crucial to choose the right location for your Acurite weather station. The location you select will significantly impact the accuracy of the data collected. Here are some tips to help you choose the best spot:
– **Avoid Obstructions:** Ensure that the area is free from obstructions like trees, buildings, or other structures that could block wind or sunlight.
– **Elevation:** Place the weather station at a height of about 5 feet above the ground to avoid ground interference.
– **Sun Exposure:** For accurate temperature readings, avoid placing the station in direct sunlight or near heat sources.
– **Wind Exposure:** For accurate wind speed and direction readings, place the anemometer in an open area where it can catch the wind freely.
## Unboxing and Preparing Your Acurite Weather Station
Once you’ve chosen the perfect location, it’s time to unbox and prepare your Acurite weather station. Here’s what you’ll typically find inside the box:
– **Display Console:** This is the main unit that displays all the weather data.
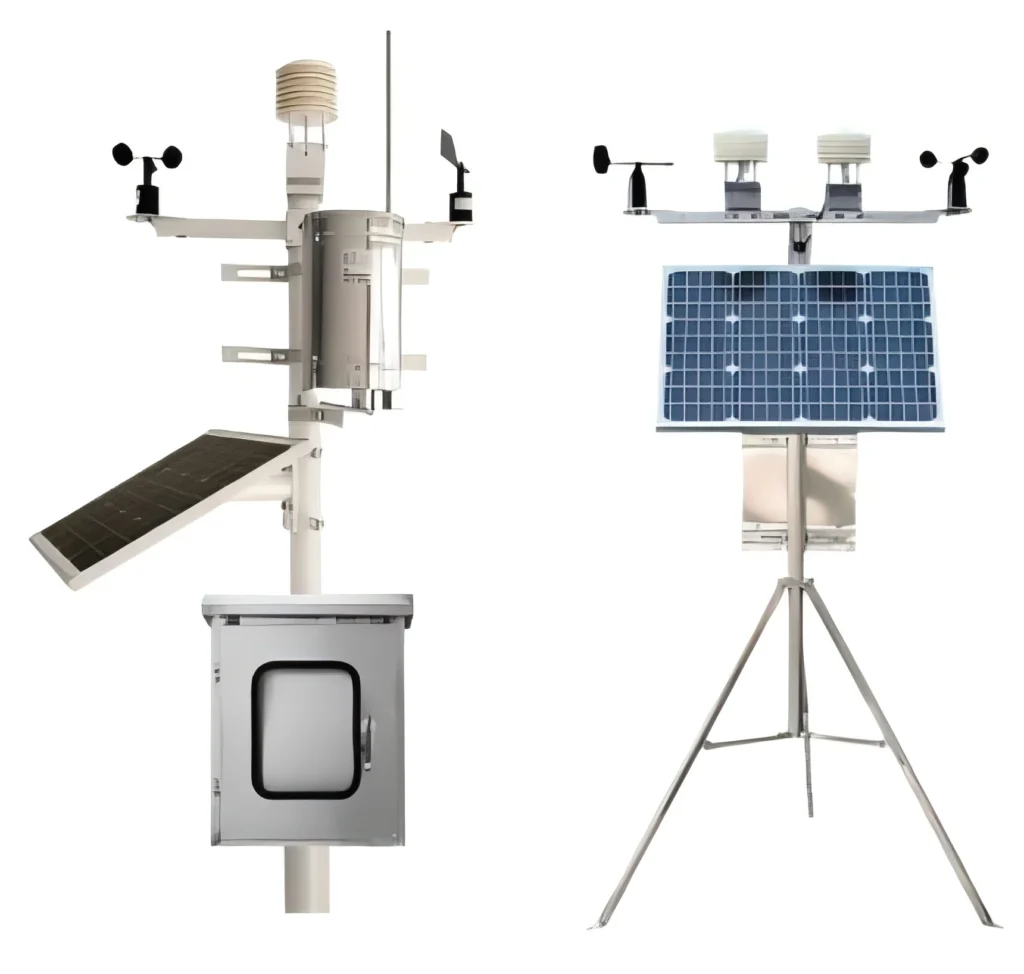
– **Outdoor Sensors:** These include the thermometer, hygrometer, anemometer, and rain gauge.
– **Mounting Hardware:** Brackets, screws, and other necessary hardware for installation.
– **User Manual:** A detailed guide that provides instructions for setup and troubleshooting.
Before you start assembling, make sure to read the user manual thoroughly. It will provide specific instructions tailored to your model.
## Assembling the Outdoor Sensors
The next step is to assemble the outdoor sensors. Follow these steps to ensure proper assembly:
1. **Thermometer and Hygrometer:** Attach these sensors to the mounting bracket. Ensure they are securely fastened and positioned correctly.
2. **Anemometer:** Assemble the anemometer according to the instructions. Make sure the cups are free to rotate without any obstructions.
3. **Rain Gauge:** Attach the rain gauge to the mounting bracket. Ensure it is level to get accurate rainfall measurements.
## Mounting the Weather Station
Now that your sensors are assembled, it’s time to mount the weather station. Here’s how to do it:
1. **Choose a Mounting Surface:** Select a sturdy surface like a pole, wall, or roof. Ensure it can support the weight of the weather station.
2. **Secure the Mounting Bracket:** Use the provided screws and brackets to securely attach the mounting bracket to the chosen surface.
3. **Attach the Sensors:** Once the bracket is secure, attach the assembled sensors to the bracket. Ensure they are firmly in place and properly aligned.
## Setting Up the Display Console
With the outdoor sensors mounted, it’s time to set up the display console. Follow these steps:
1. **Place the Console:** Position the display console indoors, preferably near a window for better signal reception.
2. **Power Up:** Plug the console into a power outlet and turn it on.
3. **Sync the Sensors:** Follow the instructions in the user manual to sync the outdoor sensors with the display console. This usually involves pressing a sync button on both the console and the sensors.
## Calibrating Your Weather Station
Calibration is an essential step to ensure accurate readings. Here’s how to calibrate your Acurite weather station:
1. **Temperature and Humidity:** Compare the readings with a trusted thermometer and hygrometer. Adjust the settings on the console if necessary.
2. **Wind Speed and Direction:** Ensure the anemometer is correctly aligned with the wind direction. Adjust the mounting if needed.
3. **Rainfall:** Use
Keyword: acurite weather station installation